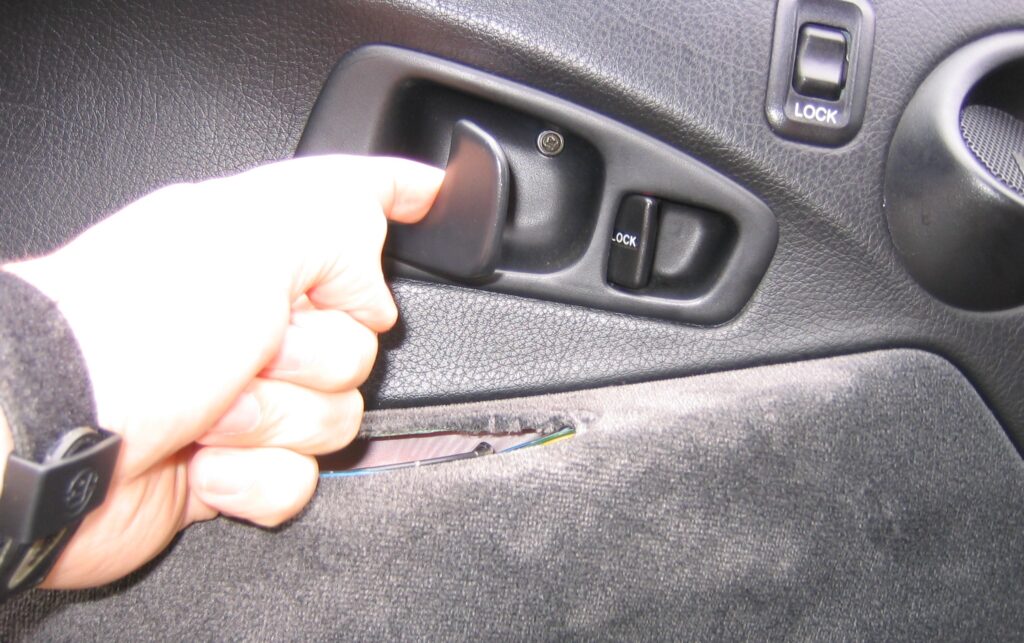
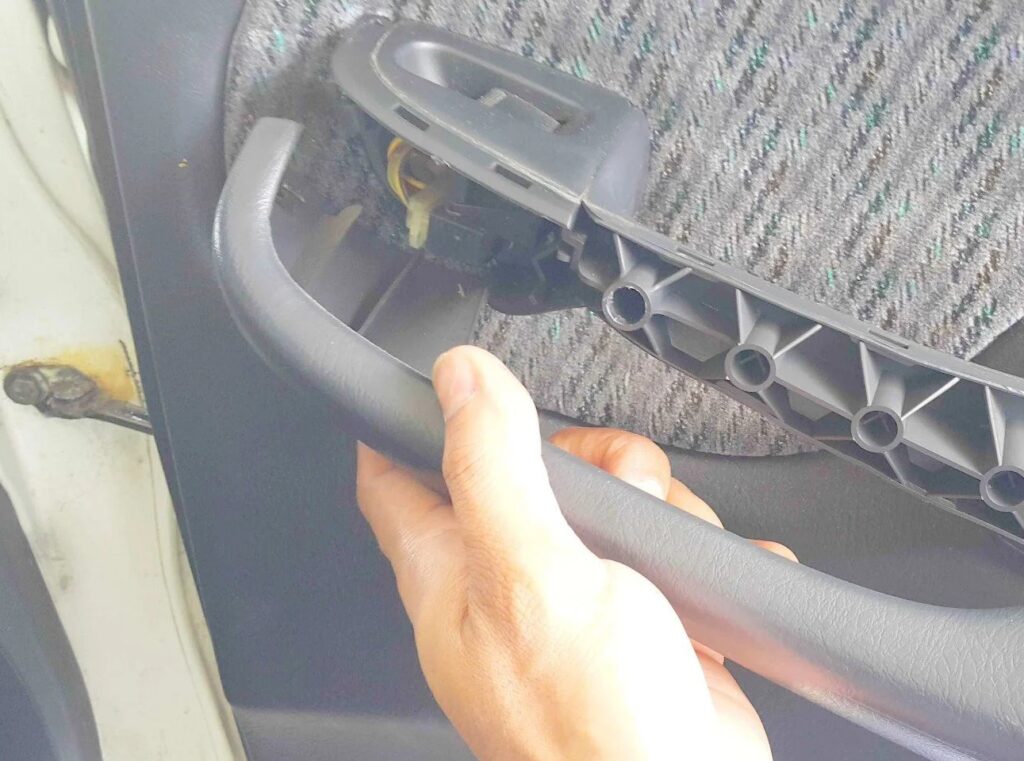
Replacing a door handle on your Honda Civic is a straightforward repair that can save you both time and money if you do it yourself. Whether your door handle is broken, worn out, or you simply want to upgrade it, this guide will walk you through the steps to replace it efficiently and correctly. Depending on your model year, the process may vary slightly, but the general steps remain the same.
Reasons You May Need to Replace a Honda Civic Door Handle
The door handle of a vehicle undergoes frequent use, and over time, it can wear out or break. Here are some common reasons why you might need to replace the door handle on your Honda Civic:
- Broken handle: A handle can snap off or become loose due to frequent use or external damage.
- Difficulty in opening the door: If the door handle sticks or doesn’t properly open the door, it may be a sign of internal wear.
- Cosmetic reasons: Over time, the handle may fade or become scratched, leading you to replace it for aesthetic purposes.
- Upgrading to a new handle design: Some people choose to replace door handles with a different style or finish to improve the car’s overall appearance.

Whatever your reason, follow these steps to replace your Honda Civic door handle effectively.
Tools You Will Need
Before you begin, gather the necessary tools to make the process easier. These are the basic tools required for the job:
- Phillips screwdriver
- Flathead screwdriver
- Ratchet and socket set
- Trim removal tool (optional, but helpful for removing door panels)
- Replacement door handle (ensure you get the correct handle for your Civic’s model year)
Step 1: Purchase the Correct Replacement Handle
Before starting the replacement process, it’s crucial to have the correct door handle for your specific Honda Civic model. Check your vehicle’s year, make, and model when purchasing a replacement handle. You can order the part from a local auto parts store, Honda dealership, or online retailer. Make sure it matches the color and design of your existing handles, if aesthetics are important to you.
Step 2: Disconnect the Battery
Safety first. Since you will be working with the door’s electrical components (especially if your Civic has power locks), it’s a good idea to disconnect the battery. This helps prevent accidental short circuits or shocks while you’re working on the door. To do this, simply disconnect the negative terminal of the battery using a wrench or socket.
Step 3: Remove the Interior Door Panel
To access the door handle, you’ll need to remove the interior door panel. This step is essential because the handle is secured inside the door itself.
- Remove any screws: Start by removing any screws holding the door panel in place. These are usually located near the door handle, in the armrest, and along the bottom edge of the panel. Use a Phillips screwdriver to remove them.
- Pry off the trim: Use a flathead screwdriver or trim removal tool to gently pry off any trim pieces surrounding the door handle and door panel. Be careful not to damage the trim or the door panel itself. Some clips may hold the panel in place, so gently pop them off one by one.
- Remove the door panel: Once the screws and trim are removed, carefully pull the door panel away from the door. It should come off with a bit of force. Be cautious, as some wiring for power windows or locks might still be attached.
- Disconnect electrical connectors: If your Honda Civic has power windows or locks, you’ll need to disconnect the electrical connectors attached to the door panel. This will give you complete access to the door handle assembly.

Step 4: Access the Door Handle
With the door panel removed, you’ll now have access to the inside of the door, where the door handle is mounted.
- Locate the door handle assembly: The door handle is attached to the inside of the door with screws and clips. Depending on your Civic model, there may be a plastic cover that needs to be removed to expose the screws.
- Remove the handle mounting screws: Use a ratchet or socket set to remove the screws that hold the door handle in place. Keep these screws in a safe place, as you’ll need them when installing the new handle.
- Detach the door handle rod: The door handle is connected to the locking mechanism via a metal rod or cable. Carefully disconnect this rod from the handle by releasing the clip that holds it in place. Take note of how it’s attached, so you can easily reattach it later.
Step 5: Install the New Door Handle
Now that the old door handle has been removed, it’s time to install the new one.
- Attach the handle rod: Connect the metal rod or cable to the new door handle, ensuring it’s secured in the same position as the original.
- Mount the new door handle: Position the new handle inside the door and align it with the screw holes. Use the screws you removed earlier to secure the handle in place. Make sure the handle is tightly fastened to avoid any looseness when opening the door.
- Test the handle: Before reassembling the door panel, test the new handle to ensure it functions correctly. Close the door and try opening it using the handle to check if it works smoothly. If there’s any resistance or it doesn’t open properly, you may need to adjust the handle rod or screws.
Step 6: Reassemble the Door
Once you’ve confirmed that the new door handle is working correctly, it’s time to reassemble the door.
- Reconnect electrical components: If you disconnected any electrical connectors for the power windows or locks, reattach them now.
- Reattach the door panel: Line up the door panel with the clips and push it back into place. Once the panel is securely in position, replace the screws and any trim pieces you removed earlier.
- Reconnect the battery: After reassembling the door, reconnect the negative terminal of your battery.
Step 7: Final Test
With the door panel reassembled and the battery reconnected, do a final test of the new door handle. Open and close the door several times to ensure the handle works properly and that everything is securely in place. If your Civic has power locks, check that the lock engages and disengages as it should when using the new handle.

Conclusion
Replacing a door handle on a Honda Civic is a relatively simple repair that most people can do at home with basic tools. Whether your handle is broken, worn out, or you simply want a new look, following these steps will allow you to successfully replace it. By taking your time and being careful with the disassembly and reassembly process, you can save money on labor costs and get your Civic looking and functioning like new again.


