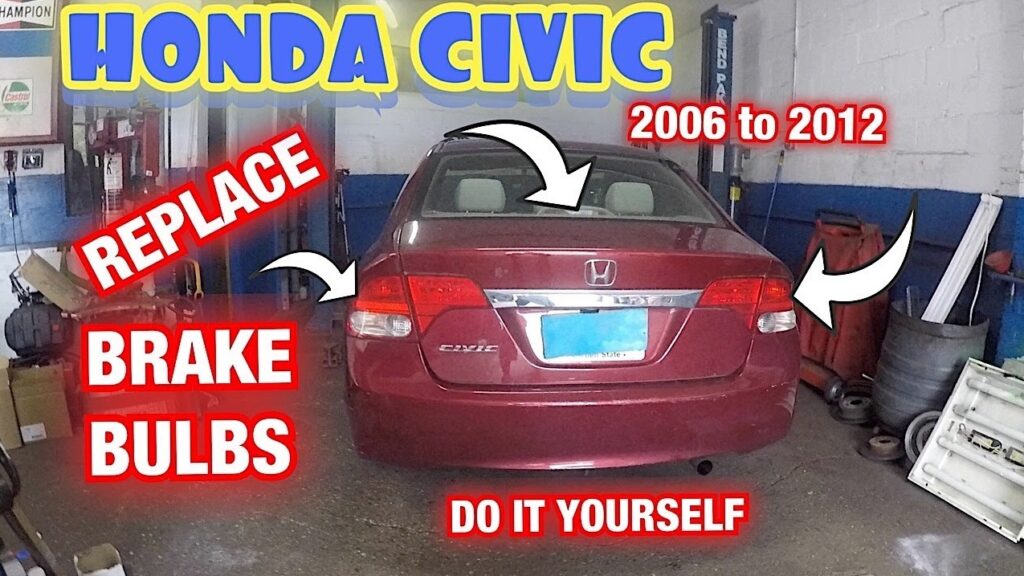
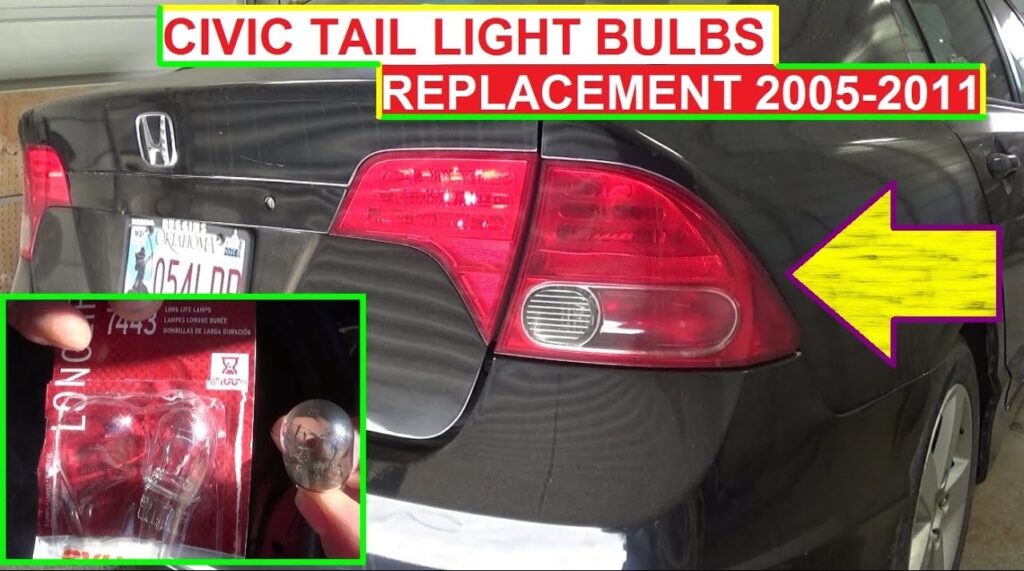
Your Honda Civic’s brake lights are a vital safety feature, alerting other drivers when you’re slowing down or coming to a stop. If a brake light goes out, it’s crucial to fix it promptly to avoid potential accidents or traffic violations. Fortunately, fixing a brake light on a Honda Civic is usually a simple task that requires only a few tools and some basic mechanical skills. In this guide, we’ll walk you through the process step by step, so you can get your brake lights working again quickly.
Signs That Your Honda Civic Brake Light Needs Fixing
The first step in fixing your brake light is recognizing that there’s a problem. Common signs include:
- Brake light warning on the dashboard: Newer Honda Civic models may display a dashboard warning when a brake light is out.
- No illumination when you press the brake pedal: Have someone stand behind your car while you press the brake pedal. If one or both lights don’t illuminate, it’s time for a fix.
- Flashing or dim brake light: Sometimes, brake lights may flicker or become dim, indicating an issue with the bulb, wiring, or socket.

Once you’ve confirmed a brake light issue, it’s time to move on to the repair process.
Tools You’ll Need
Before starting, gather the necessary tools and replacement parts. For most Honda Civic models, you’ll need the following:
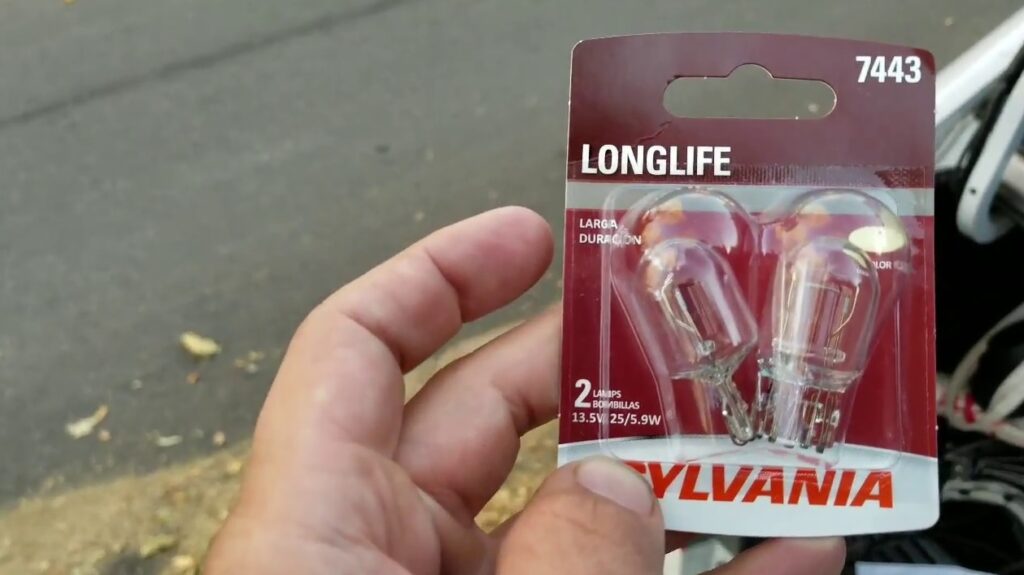
- Replacement brake light bulb (check your owner’s manual for the correct type)
- Phillips screwdriver or flathead screwdriver
- Gloves (optional, but recommended to avoid touching the bulb)
- Electrical contact cleaner (optional, for cleaning the bulb socket)
Step 1: Identify the Problem
The issue with your brake light could be due to several factors:
- Burnt-out bulb: This is the most common problem. Over time, bulbs simply burn out and need replacing.
- Faulty wiring or socket: In some cases, the wiring or the socket that holds the bulb could be damaged or corroded.
- Blown fuse: If none of your brake lights are working, it could be due to a blown fuse. You’ll need to check the fuse box to confirm this.
To troubleshoot, check the condition of the bulb first, as this is the easiest and most common fix. If the bulb looks fine, you can move on to testing the fuse and wiring.
Step 2: Locate the Brake Light Housing
Once you’ve determined that the brake light needs fixing, the first physical step is accessing the brake light housing. Depending on the model year of your Honda Civic, the brake light housing is usually located in the rear of the vehicle, either inside the trunk or on the exterior of the car’s body.
- Open the trunk: In most Honda Civics, the brake light assembly can be accessed by opening the trunk and removing the covering panel or fabric liner that shields the rear lights.
- Remove screws or clips: Use a screwdriver to remove any screws or clips holding the brake light housing in place. Keep these screws safe, as you’ll need them to reassemble the housing later.
Step 3: Remove the Old Brake Light Bulb
Once you’ve exposed the brake light housing, it’s time to remove the old bulb.
- Locate the brake light bulb socket: This will be the part of the assembly where the bulb is mounted. Twist the socket counterclockwise to loosen it and gently pull it out of the housing.
- Remove the old bulb: Simply pull the bulb out of the socket. If the bulb is burnt out, you may notice that the filament inside is broken or discolored.

Step 4: Install the New Brake Light Bulb
Now that you’ve removed the old bulb, it’s time to install the new one.
- Handle the new bulb carefully: Use gloves or a clean cloth to handle the new bulb, as oils from your skin can shorten the lifespan of the bulb.
- Insert the new bulb: Push the new bulb into the socket until it fits snugly.
- Reinstall the socket: Once the new bulb is in place, reinsert the socket into the brake light housing by turning it clockwise until it locks.
Step 5: Test the Brake Lights
After you’ve replaced the bulb, it’s essential to test your work before reassembling everything.
- Press the brake pedal: Either ask someone to press the brake pedal or use a heavy object to keep the pedal depressed while you check the brake light from behind the car.
- Confirm proper illumination: If the new bulb illuminates correctly, you’ve successfully fixed the brake light.
Step 6: Reassemble the Brake Light Housing
Once you’ve confirmed that the new bulb works, it’s time to put everything back together.
- Replace the screws or clips: Use your screwdriver to reinstall the screws or clips that hold the brake light housing in place. Ensure that everything is secure and properly aligned.
- Close the trunk: Once reassembled, close the trunk and do a final check of the lights.
Step 7: Check for Additional Issues
In some cases, replacing the bulb may not solve the problem. If your new bulb isn’t working, or if all your brake lights are out, the issue might lie elsewhere:
- Check the fuse: The brake light fuse is located in the fuse box, usually under the dashboard or in the engine compartment. Refer to your owner’s manual for the exact location. If the fuse is blown, replace it with one of the same rating.
- Inspect the wiring and socket: If the fuse is intact but the lights still don’t work, the problem might be with the wiring or the bulb socket. Corrosion or damage to the socket can prevent the brake light from functioning properly. Clean the socket with electrical contact cleaner, or replace it if necessary.
When to Seek Professional Help
While most brake light fixes are simple and can be done at home, there are times when seeking professional help is a good idea. If the wiring is damaged or you’re unable to determine the cause of the brake light failure, a mechanic can diagnose and fix the issue. Electrical problems, in particular, can be tricky to troubleshoot without specialized equipment.

Conclusion
Fixing a brake light on your Honda Civic is a relatively simple and inexpensive task that can be done in under an hour. By following the steps outlined in this guide, you can easily replace a burnt-out bulb and ensure your brake lights are functioning correctly. Whether you’re doing it for safety or to avoid a traffic ticket, maintaining your brake lights is a critical part of vehicle maintenance.
Tags: Brake, Bulb, Civic, Fix, How To Fix, Light, Remove, Replace


